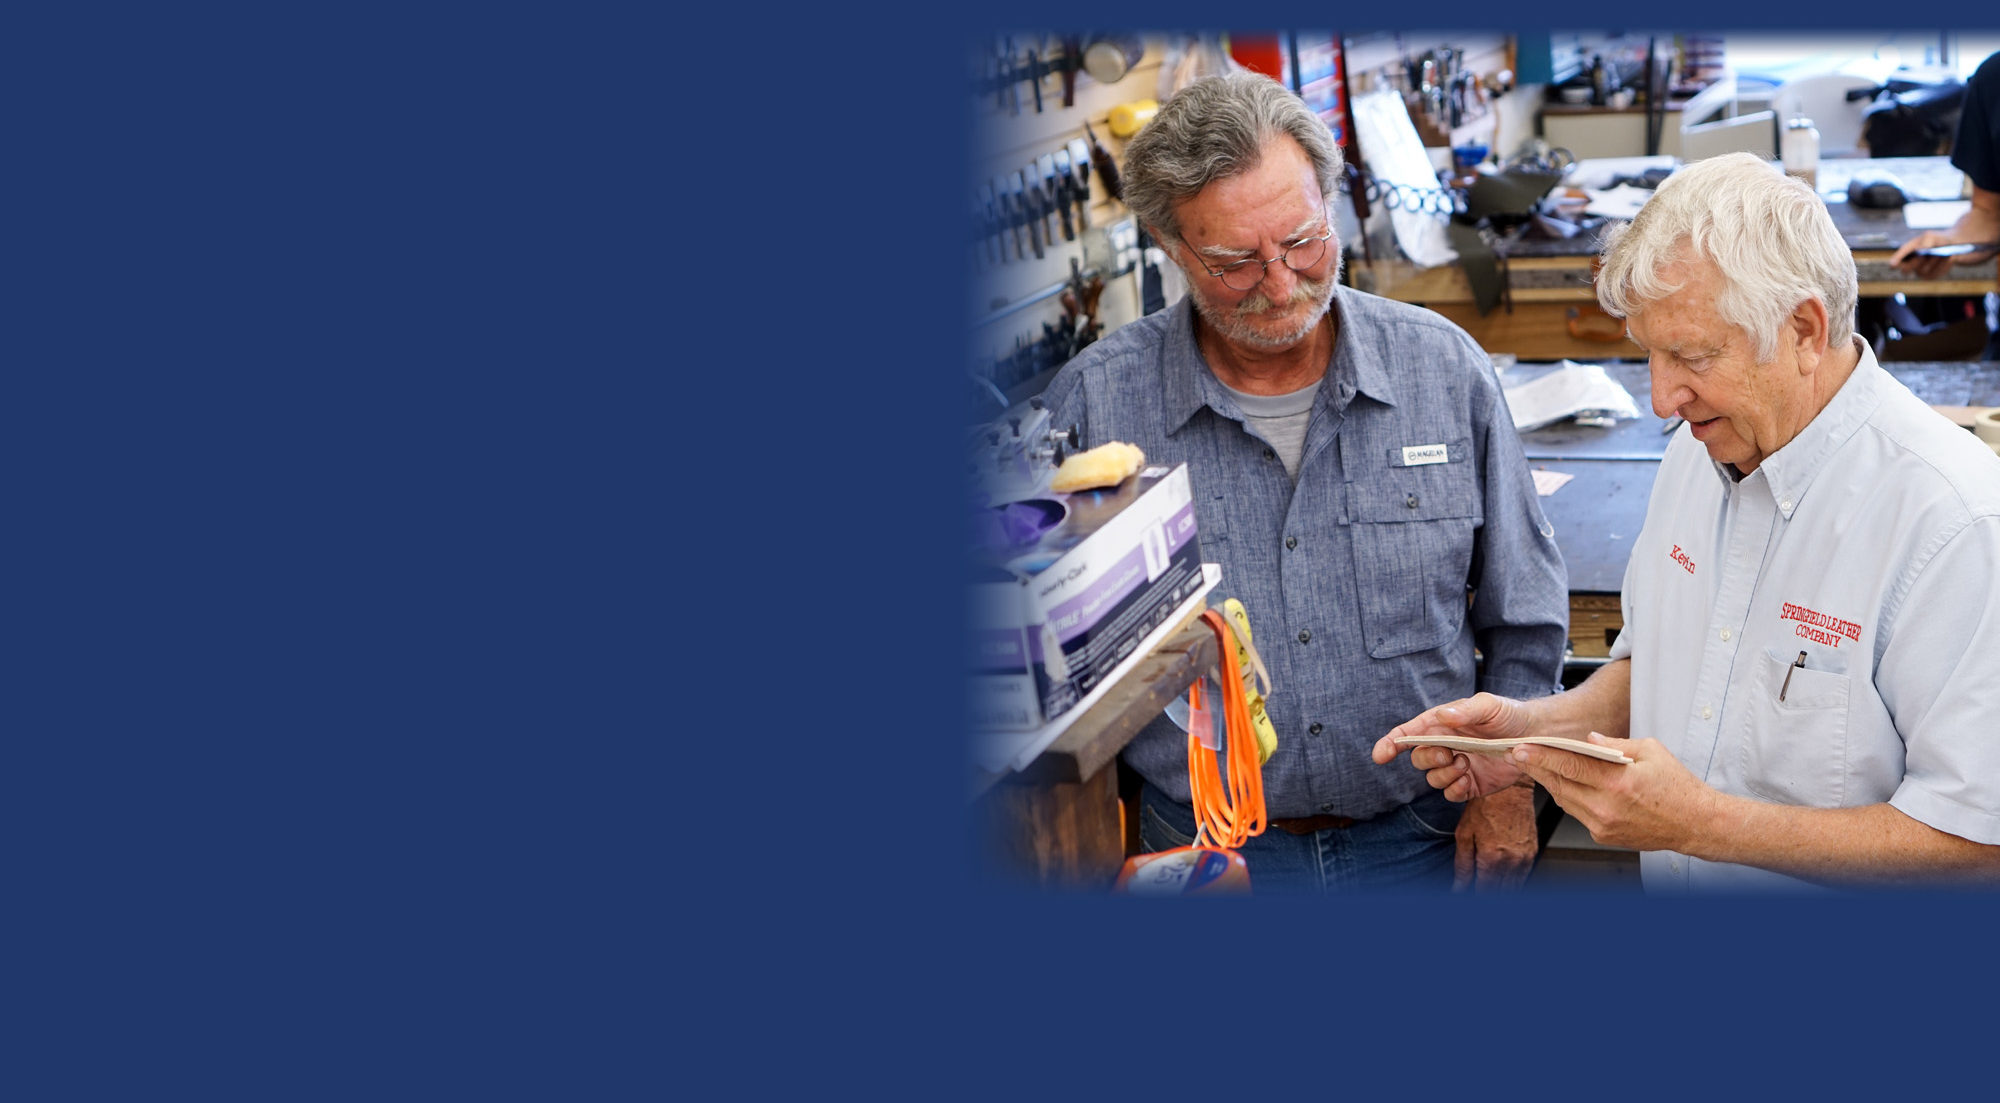
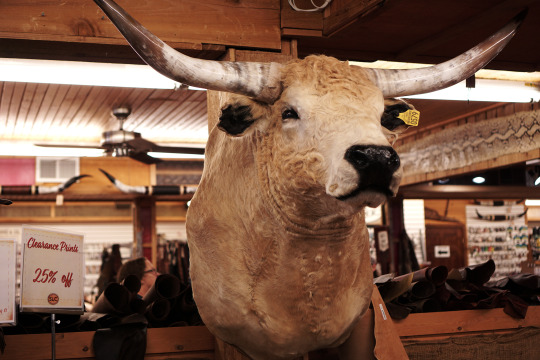
Sir Loin’s time with us at SLC started back in September 2018. Rusty and Kevin had just bought a large amount of stuff (“stuff” includes everything from fine leathers, to tables with cow horn legs, to essential hardware— and everything in between), and Sir Loin was part of that stuff!
As we sifted through the new inventory we came across the magnificence which soon came to be known as: Sir Loin.
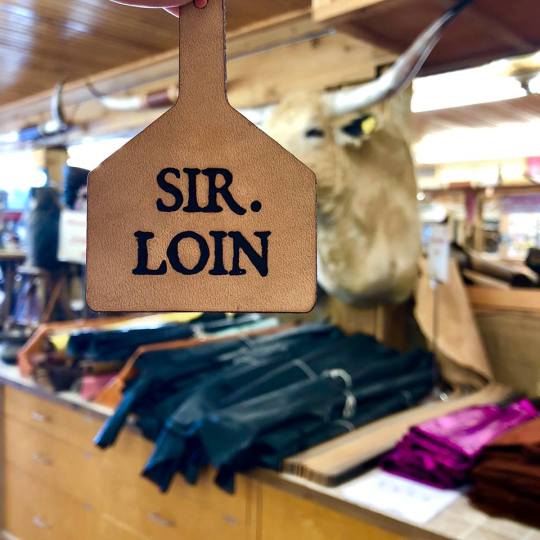
Since his arrival Sir Loin has been a social media rock star. He even got his name from a Facebook Post- beating out even some of the most pun-filled options like: Beau Vine, Rawhide, and Tiny.
On Tuesday, November 6th, 2018 at 9:02am Sir Loin was knighted with his name tag adornment and remains a mainstay in the SLC showroom to date.
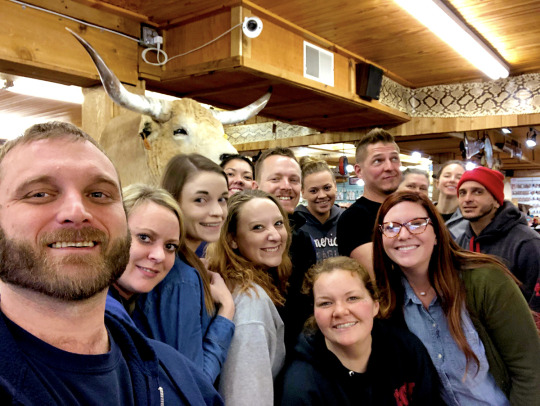
Since Sir Loin is such a celebrity, we decided to have some more fun with him. Introducing the Sir Loin Selfie! Each time you visit our showroom you can enter to win a $10 gift card by doing the following four fun steps:
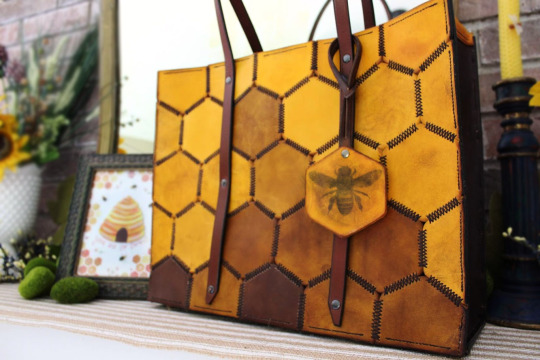
A while back, we shared some images from a customer, Jason, who used our pre-cut hexagon shapes to make one buzzin’ bag! While we don’t know all of his secrets, we’ve done our best to give you some tips and tools to make a similar bag on your own.
The original bag was a gift for Jason’s wife. Here are some of the things he used and a few we recommend trying to put your spin on this project.
What he definitely used:
Hexagon Shapes – These honey comb shapes are the cornerstone of the project! They make up the main panels of the bag
Jason left some very enthusiastic and detailed reviews on the hexagon shape and dye listings, so be sure to read those for some tips from the man himself.
Additional things you’ll need:
Bag Feet – we think his were gold, but any color will do!
Rivets and setter – we think he used black or gunmetal rivets
So, we don’t know exactly how he made it but we asked for help from one of our pros, Clayton, who makes bag prototypes for us all the time!
Color Your Shapes
Use the dye and stains of your choice to transform your shapes! It looks like Jason used a bit of stain or antique paste on some of the yellow pieces for a more rustic look. Add the finish of your choice or leave them natural – no matter what you do, give them time to dry before moving on.
Make the Bag Panels
This bag looks completely hand-stitched and Jason used a cross stitch to make it happen. You’ll need a needle and thread to pull it off. We recommend using a brown waxed thread to do the job!
Cut the Panels
The original design features some hexagons that are cut. Once you have the pieces assembled, you’ll have to make the panels into rectangles or whatever shape you’re going for.
Construct the Bag
It looks like he used brown veg tan for the minor panels and the bottom of the bag. You could buy some that is already dyed or you could dye it yourself! It looks like he reinforced the sides of the bag with the leftover yellow parts of the hexagon shapes – so waste-no-more! You could use a machine or hand stitch the bag together. It looks like he took his time to stitch the whole thing by hand – a true labor of love.
Add the Straps and Bag Feet
Use brown veg tan for straps. He made two straps and used black or gunmetal rivets to attach them to the large panels of the bag. Use the bag feet of your choice. Clayton usually saves the bag feet for last and give the bag a bit of time to settle into its new shape.
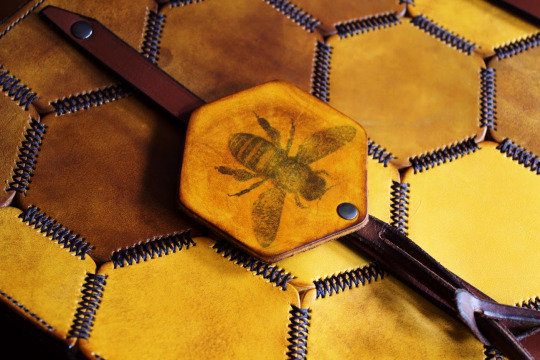
Make the Tag
The tag is likely the simplest part of this bag. He used one of the hexagon shapes which was dyed yellow and created a beautiful bee shape. You could stamp or stencil this one – we’re not sure how he went about it. He finished it off with what appears to be the slightest bit of antique paste. You’ll want to add some resist to the shape before following this step.
Make it Your Own
We are confident that we missed some steps and got some things wrong. Plus, we’re sure there are some things you might like to do differently. However, using this simplified line of thinking provided, we believe you have the power to make something very similar to Jason’s design on your own! Did you give it a try? We would love for you share it with us here or on any of our social media platforms!
Our customer, Jason, didn’t have any social media he wanted to plug, but he had a wonderful time making this beautiful bag. His wife took some beautiful photos of this bag, which you can see more of here. Until next time!
We appreciate you! Actually, either will work, Veg is safer because there’s no possibility of bleeding oil, but it really depends on the look that you want.
The kangaroo would probably work pretty well, depending on the tannage of the hide itself. A hide tanned for lace might be a bit crisp, depending on the style of the bar stool. A softer tannage, like for boots, would work just great, but it would be expensive. Good choice tho. I think I’d probably gravitate toward upholstery cow just because of the cost.