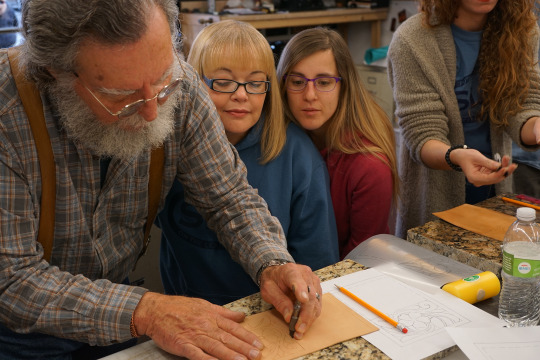
Denny is such a gracious teacher and this time, he’s helping our office staff train to understand customer concerns with a bit of practical application. Today’s lesson was in tooling a passport cover – here are a few images from the class!
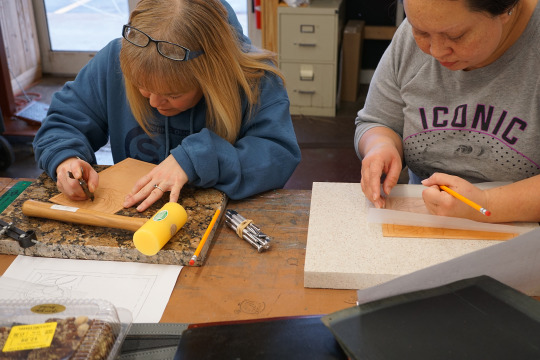
Denny teaches by showing first and supervising later. He’s allowing for students to make mistakes happy accidents. It’s the best way to learn a craft
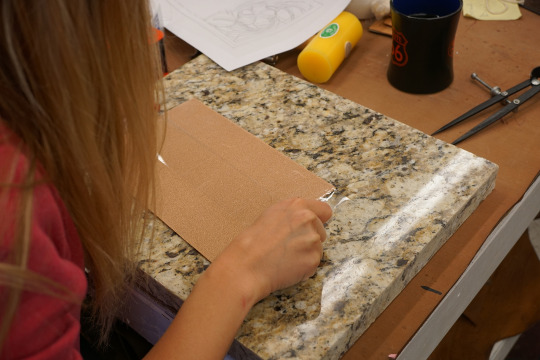
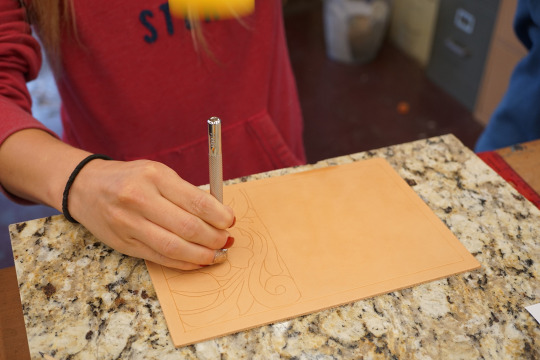
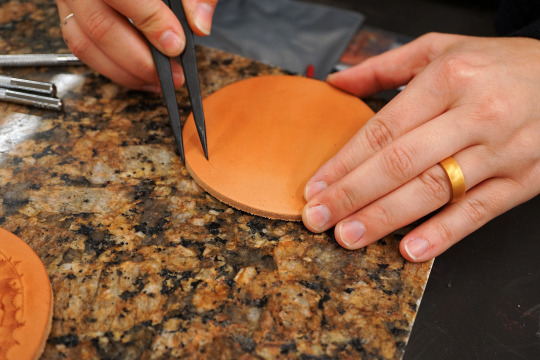
Students tape the back of their projects to minimize stretching
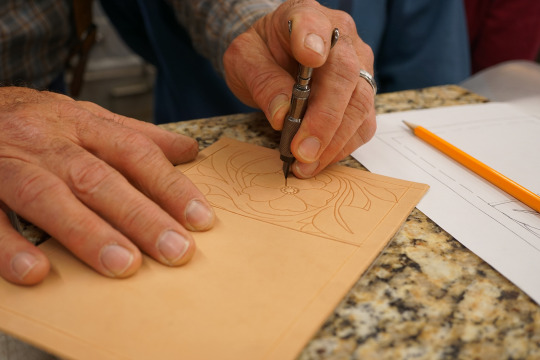
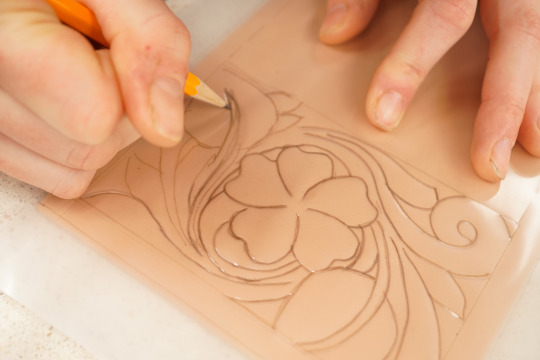
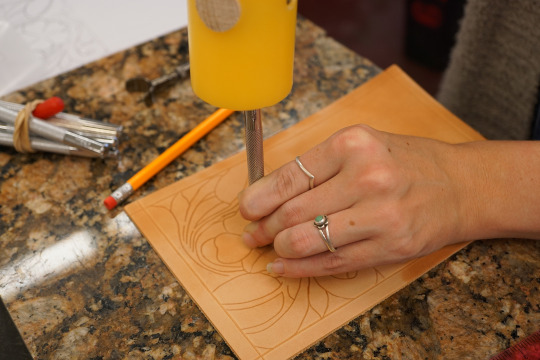
They trace the pattern onto their leather diligently.
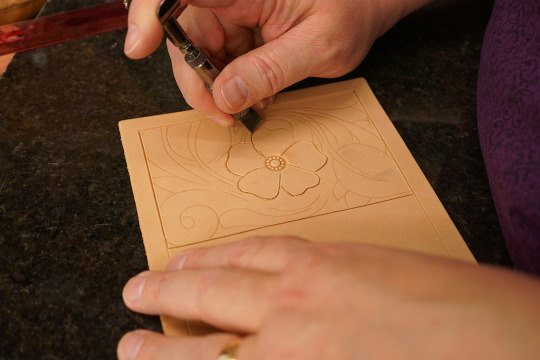
Now they’re ready to begin carving and stamping
Of course, everyone works at their own pace.
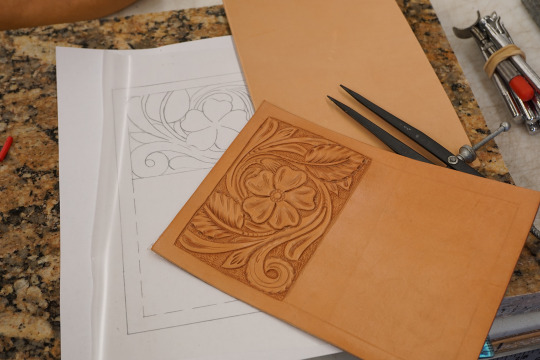
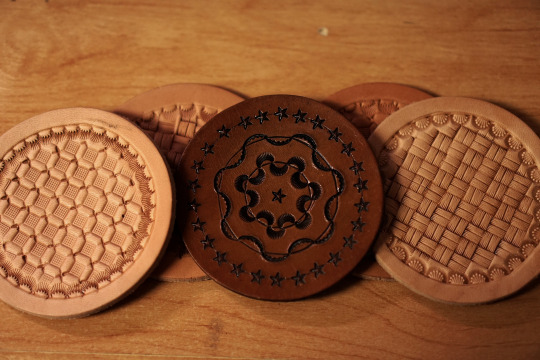
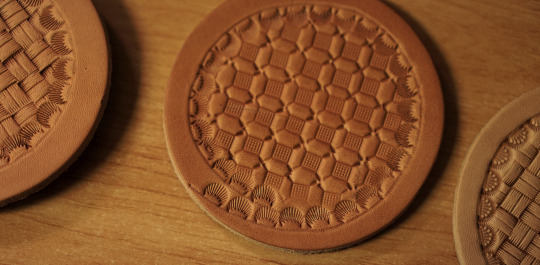
Eventually they’ll end up with something like this.
We’ve told you before that Denny teaches short classes on Friday mornings for the members of our staff that don’t get to make cool leather products daily. A few weeks ago, he taught some members of our marketing and e-commerce team how to make their first stamped projects. Today, we present to you this simple craft that Denny was able to teach several rambunctious ladies in about 45 minutes.
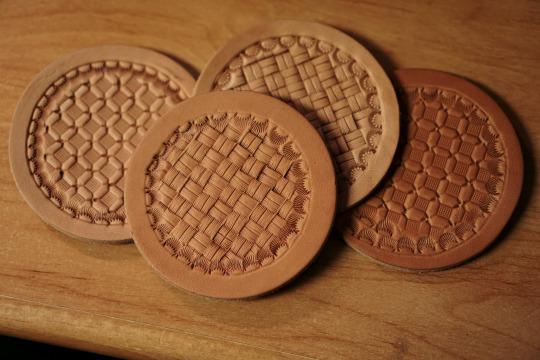
The craft in question are coasters made with just a few simple stamps and pre-cut circles. The student pictured went off-book and used a tap-off pattern, which you can read all about in this blog post.
Spray Bottle of Water or a way to lightly wet your leather
The Process
This project is simple! You can have your first stamped coaster complete in a matter of minutes.
Step 1 – Wet the Leather
How much water to use is just one of those things you have to try out for yourself, but less is more in the beginning. We recommend using a spray bottleto get even and light coverage. Try a little water, wait a few minutes and see if the leather is soft enough to make an easy impression – if you have scrap leather of a similar weight, it should work well for testing.
Step 2 – Set the stage
Use winged dividers or a compass to create a line around the perimeter of the circle. Make this circle go in as far as you’d like – we stuck to about 1/4″.
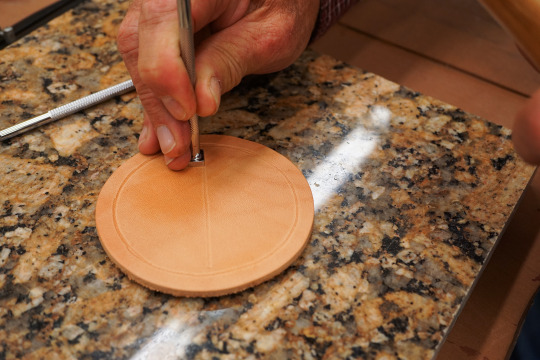
Then, place your ruler in the center of the circle. Use your ball point stylus to make a light impression down the center of the circle from one end of your newly marked circle to about ¾ of the way down. If you end up taking the line all the way to the end, it shouldn’t make a big difference as it’ll be covered up in subsequent steps.
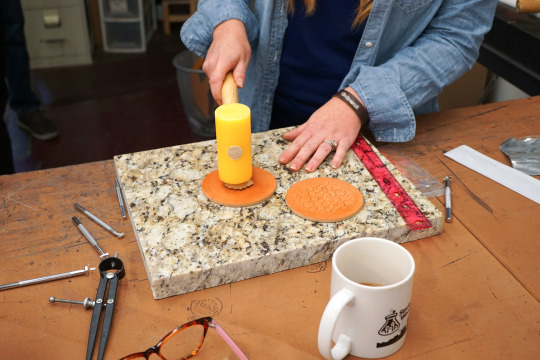
Step 3 – Stamp away
Grab a patterned stamping tool of your choice and start somewhere near the center of your circle taking care to align your tool with the center line. Use this tool repeatedly to obtain the desired pattern. Test this out on a scrap piece of leather if you have one! It’ll help you get the alignment right and help you with things like a basket weave tool which requires rotation.
Denny is breaking the rules here and starting near the edge, but he’s an expert and knows how far to keep it away from the edge. You are free to try this method too, we just don’t recommend it for your first time.
Repeat your stamping steps and lean your tool to the side when you get near edges to get a faded effect. You want to leave some space between the ends of your stamping and the line you made with your winged divider in step two. This will allow your border tool to make clean impressions that won’t cover all of your awesome stamping work.
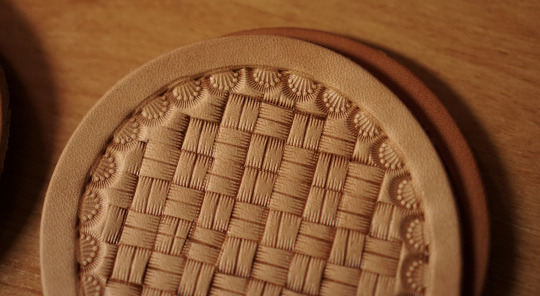
Here is one of Denny’s coasters. Notice how the faded-out the edges of his design allowed the border stamp to come in seamlessly.
It doesn’t totally ruin it if you go to close to the edge but it looks a lot cleaner to fade the edges out.
Step 4 – Decorate that borderline
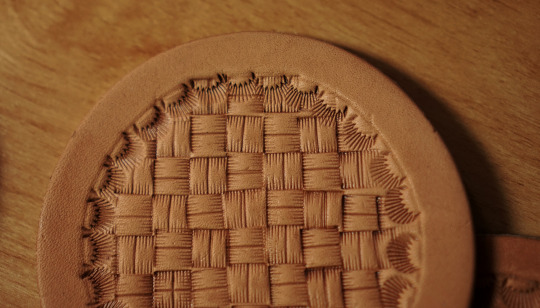
Here’s one a class member made. Inconsistent spacing and running over the original stamped design because it was brought all the way to the edge.
Take your camouflage or border stamping tool and line it up with the guide you created in step two with the winged divider. Repeat the pattern along the edge until it’s complete. You may want to practice how you will line these stamps up as that can get a little messy too – check out the image above to see what we mean.
Step 5 – Have fun with it!
You can leave the coasters as they are and allow the environment to have its way with your work or you can color/seal it. We didn’t do the coloring and sealing in the class, but that doesn’t mean we can’t tell you how. 😉
We recommend using dye or antique paste if you’re going for a uniform and classic look. For those of you who want a bit more color and design, we recommend using some paint like Angelus acrylic paint.
You can use any finisher you prefer, but we recommend Master’s Quick Shine – it has a glossy, long-lasting finish that dries quickly and won’t bulk up your project.
Step 6 – Bask your own glory
For you are done! It may not look perfect, but it was made by you and we’re sure there are plenty of cups that would be honored to rest upon your coaster, even if it looks like this…
We hope you enjoyed that simple little lesson. We sure did! We love learning at SLC and there is always something new to pick up. If you have any tips, tricks or suggestions to add, feel free to let us know! Did you try this project? Please do show us here on Tumblr or share it with us on Facebook and/or Instagram. Until next time!